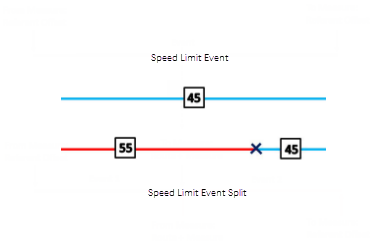
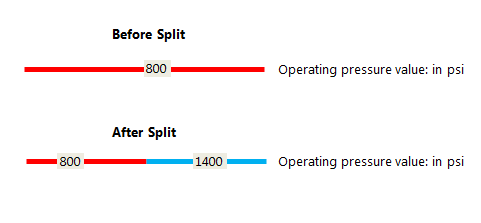
The Split Events tool is used to split a line event into two adjoining events. You are allowed to edit the attributes of the split events prior to selecting the location to split. On successful execution, the resulting split events get new event IDs, and the input event retires.

Nota:
If a line event that uses referent offsets as its start and end measure values is split into two adjoining events, then the resulting split events get new event IDs, and the original event retires. The first event will retain the referent offset values as its start measure value, but will use route and measure as its new end measure value. The second event will use route and measure as its start measure value and will use referent offset values as its end measure value.

- Abra ArcGIS Event Editor y, si se le solicita, inicie sesión en Portal for ArcGIS o ArcGIS Online.
- Haga clic en la pestaña Editar.
- In the Edit Events group, click the Split Events button
 .
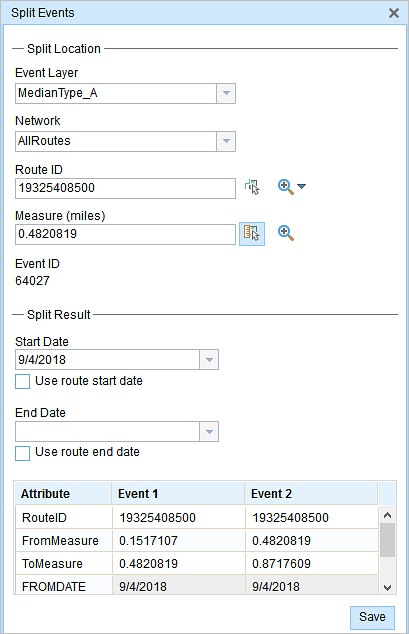
.The Split Events widget appears.
- In the Split Location section, choose an event layer on which to work by clicking the Event Layer drop-down arrow.

- The LRM to which the event is registered is selected automatically in the Network option, but you can choose the LRM by clicking the drop-down arrow.
- Escriba un Id. de ruta en el cuadro de texto Id. de ruta en el que se basará la nueva medición de evento.
Sugerencia:
También puede hacer clic en el botón Seleccionar una ruta en el mapa
 para seleccionar la ruta en el mapa.
 - Click the Select From Measure on the Map button
 to select a point on an event on the selected route.
 The event will be split into two events on either side of the point. Alternatively, you can enter a measure value in the text box. The event underlying the measure value of the route will be split into two.
The records/attributes of the split event appear in the Split Result area.
- Haga clic en los controles Fecha de inicio y Fecha de finalización para elegir las fechas de inicio y finalización del evento.
De forma predeterminada, la fecha de inicio es la fecha de hoy, pero puede seleccionar otra fecha con el selector de fecha. La fecha de finalización es opcional.
- Puede editar los campos en blanco.
The gray fields are disabled and not editable.
Nota:
Se admiten valor codificado, dominios de rango y subtipos cuando se configuran para cualquier campo de la tabla Atributo-Valor.
- Click Save to split the records.
Aparece un mensaje de confirmación en la parte inferior derecha una vez guardado el evento editado.